30 November 2010

Before and After: Inky Blue Weathered Side Table

I was a busy painting bee on the weekend. This table project came as a burst of inspiration after I picked up a Behr mistint for only $3! Do you remember this table? I picked it up in the summer and it sat in my basement for months waiting for the right look...


More often than not in my furniture makeovers, I'm taking dark pieces and making them lighter. But I've been inspired lately by all the distressed black paint projects out there, and I'm loving the modern yet still vintage feel of it! Plus I'm keeping with my winter theme of using richer colours.  When I stumbled upon this Behr mistint, I was so excited. I'd been searching for the perfect black. But when I got it home and started painting, I discovered it was the deepest, inky blue black colour.  Even better!

I also broke all my own rules about furniture painting, because of the distressed styling. I sanded it down good past the finish to reveal the bare wood. Then I painted several coats of the blue black directly (no primer!). Then I distressed the piece with an 80 grit sandpaper sponge and waxed it all over using Minwax natural wax paste.  Because I knew I was distressing, I didn't want primer showing through and the wax gives a nice sheen. It's not as protective as the poly but it will age gracefully with the weathered look.

I'm loving the results so much and J really had to talk me down from keeping this in our house!


If you live in the Winnipeg area and have the perfect place for the Inky Blue Weathered Side Table, you can purchase it here.

Did I mention how much I'm loving the Canon Rebel that my friend Leah lent me to try out? What a difference in my pics - without me even reading the manual yet! It will be hard to give it back without wanting to splurge on my own...sigh...

Hope you ave a most lovely day my friends!

28 November 2010

From the Kitchen: Cinnamon Bun Sundays


So half asleep this morning I groggily said 'we should make cinnamon buns...'. J got as excited as a kid on Christmas day and lept out of bed.  Who would have known it takes over 3 hours to make cinnamon buns?  And that I would end up being the one who basically makes them? Good thing it's one of those lazy Sundays! The only thing missing from this little Martha Stewart scenario is trimming the Christmas tree...but we're not there yet.

If you feel like you can't resist some baked deliciousness...you can try the Breadmaker Cinnamon Bun recipe I used here.  But if you'd rather not spend 3 hours making a zillion calorie treat - I really don't blame you.

Hope you're having a great weekend friends...what are you getting up to?

27 November 2010

Before and After: Regal Teal Side Table

I feel like it's been FOREVER since I showed you a finished project! Truth is, this one's been done for a while but I have no daylight at home on weekdays so shooting the 'after' pics had to wait for the weekend.  Here's the side table before, it was a great sturdy piece with lovely scalloped edges and curved legs.


A good friend (I can't remember who, so if it's you - thanks!) recommended I try deepening my colour palette a bit during the winter, I picked up some new tints I'd been wanting to try.  I fell in love for this deep, rich teal grey colour. It's so regal and soothing! I did my usual sanding priming, painting and finishing. The paint was a semi-gloss finish so it has a real girlish feel to it.  I think the result is super cute, would go great in everything from a living room to a bedroom!


If you live in the Winnipeg area and would love to take home the Regal Teal Side Table, you can do so here!

Also, did you notice anything different about my 'after' photos? I've been wanting to get a new camera for a while now - my dinky digital point and shoot just doesn't cut it when I look at some of the other gorgeous photos out there in blogland.  So my sweet photographer friend Leah generously offered me her old Canon Rebel XTi for a while to do a test drive.  How amazing is that? This is my first attempt with the camera and I'd love to hear your tips and tricks on taking great shots with a DSLR!

Have a lovely rest of your weekend friends!

26 November 2010

Hello!

 
{image via EvenAndy}
 
Is everyone feeling as tied up as I do these days? Between holiday planning, Christmas shopping, new-car driving, work-attending, house-cleaning and furniture painting...there's literally no time left over!  Did I also mention we've had 20+ centimetres of snow dump on us over the last 3 days??  My commute has been less than joyful this week.

Plus I have a bit of the blog blahs, well not really the blahs, just that I can't seem to get it together to plan my posts then {pouf!}, the day is gone!  Do you ever feel like that?  PLEASE tell me how you cope?

I am so happy it's Friday. So I'm keeping my chin up buttercup! I have Splurge tonight with my gal pals, I love getting together to drink wine and chat about life and their babies!  The rest of the weekend will be spent catching up on all the other things on my to-do list.

For my friends south of the border - Happy Thanksgiving and I hope you're shopping up a Black Friday storm! Tell me about all your fab deals...

I'll be back soon, for now - know you're in my happy thoughts! 


24 November 2010

PIY Pointers: How to fix a paint chip


Remember this little guy? Jeanette commissioned me to paint for her  and the result was the Midnight Blue Dresser she picked up a few weeks back. 


Sadly, there was a mishap while she was bringing it into her house and the result was a large chip that ran right through the finish, paint and primer to the wood.  Ouch!  So she brought the drawer back to me for a repair job.  I originally contemplated sanding down the spot and touching up the paint, but due to the thickness of the chip, that would leave obvious marks.  So I decided to use wood filler to fix the chip and here's what I did.

You'll need:
-chipped furniture
-wood filler
-filling knife or flat scraper
-sanding sponge
-primer, paint and finish


1. Apply a coat of wood filler over the chip, using your filling knife or flat scraper to smooth it out. Allow to dry fully, 1-2 hours.


2. Using a sanding sponge, sand off the excess wood filler to leave a smooth surface. Wipe down with a cloth to get rid of the dust.


3. Paint a coat of primer over the chip area, making sure to go bigger than the area to make it less noticeable. Allow to dry, approximately 1 hour and repeat a second coat. Primer is used because paint does not adhere well to the wood filler, it needs the adhesion layer that primer provides to create a bonded surface.


4. Lightly sand your primed area with a sanding sponge for smoothness, then repeat the process with your paint colour. Allow ample drying time then paint a second coat.


5.  Complete your fix by adding two coats of finish over the area, I went over the entire drawer with finish for a seamless topcoat.  Then you are done!


Hopefully you don't have to fill a chip this bad on a newly painted project but it happens, so better to know what to do!

For other painting pointers, you can check out my full page of painting tutorials and tips here...

Have a lovely day friends!

23 November 2010

Etsy Love: Studio KMO

It's been just over a year since we've been in our house and I must admit - I've been finding it hard to put artwork on the walls without all our reno's being done.  Like it seems too 'finishing touch' and the rooms aren't ready for that yet.  But I know I should just buckle down and pick out things I love and enjoy them today.

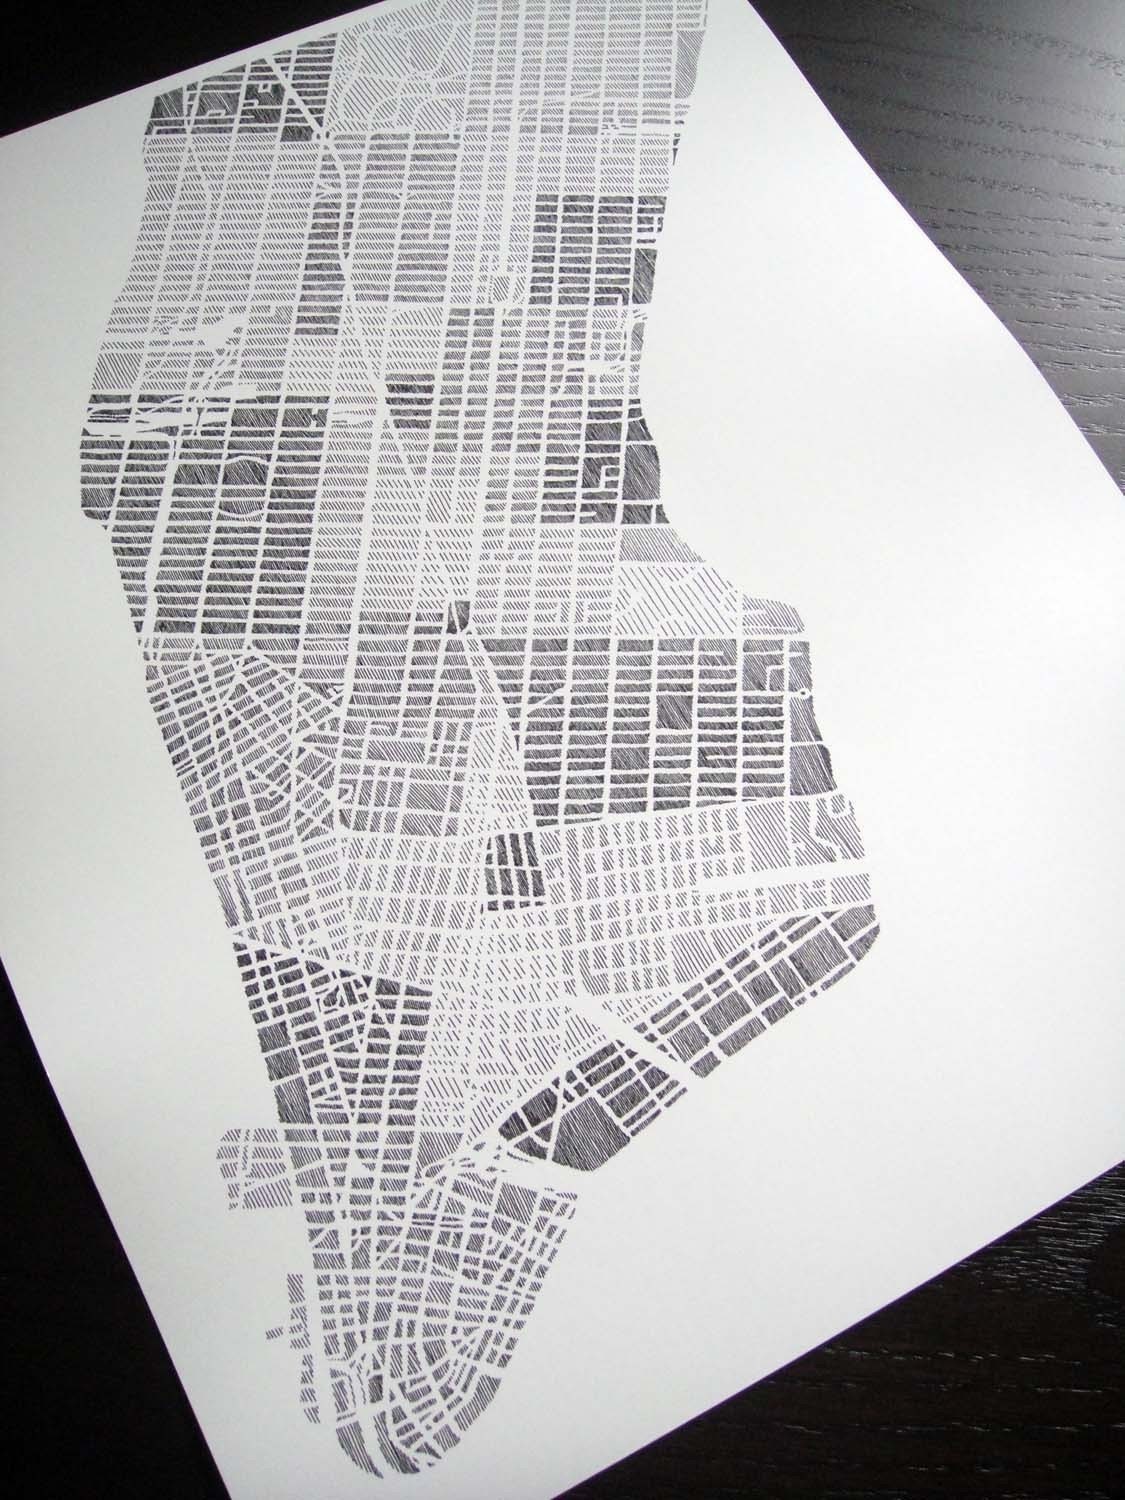
I have a love for travel so these amazing ink drawings and hand-cut maps gave my heart a little flutter! Check out Studio KMO's Etsy shop here. This map of Manhatten is a pen and paper drawing. How stunning is this?


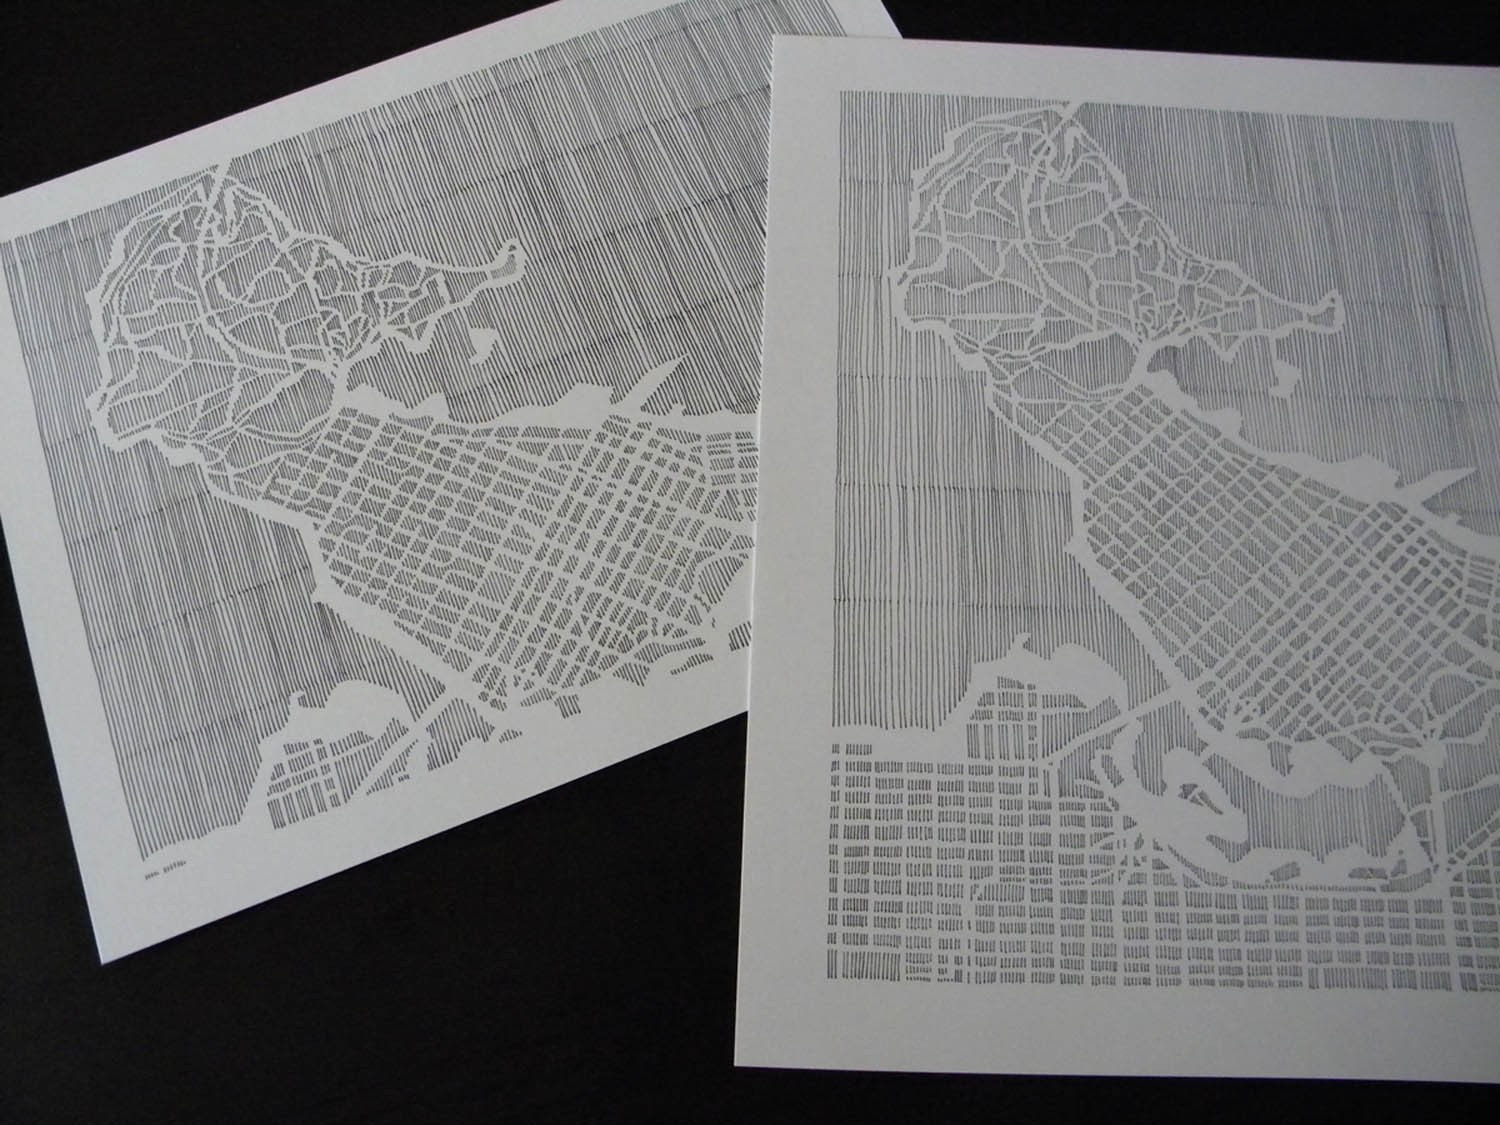
My heart just swoons for this delicate drawing of Vancouver.


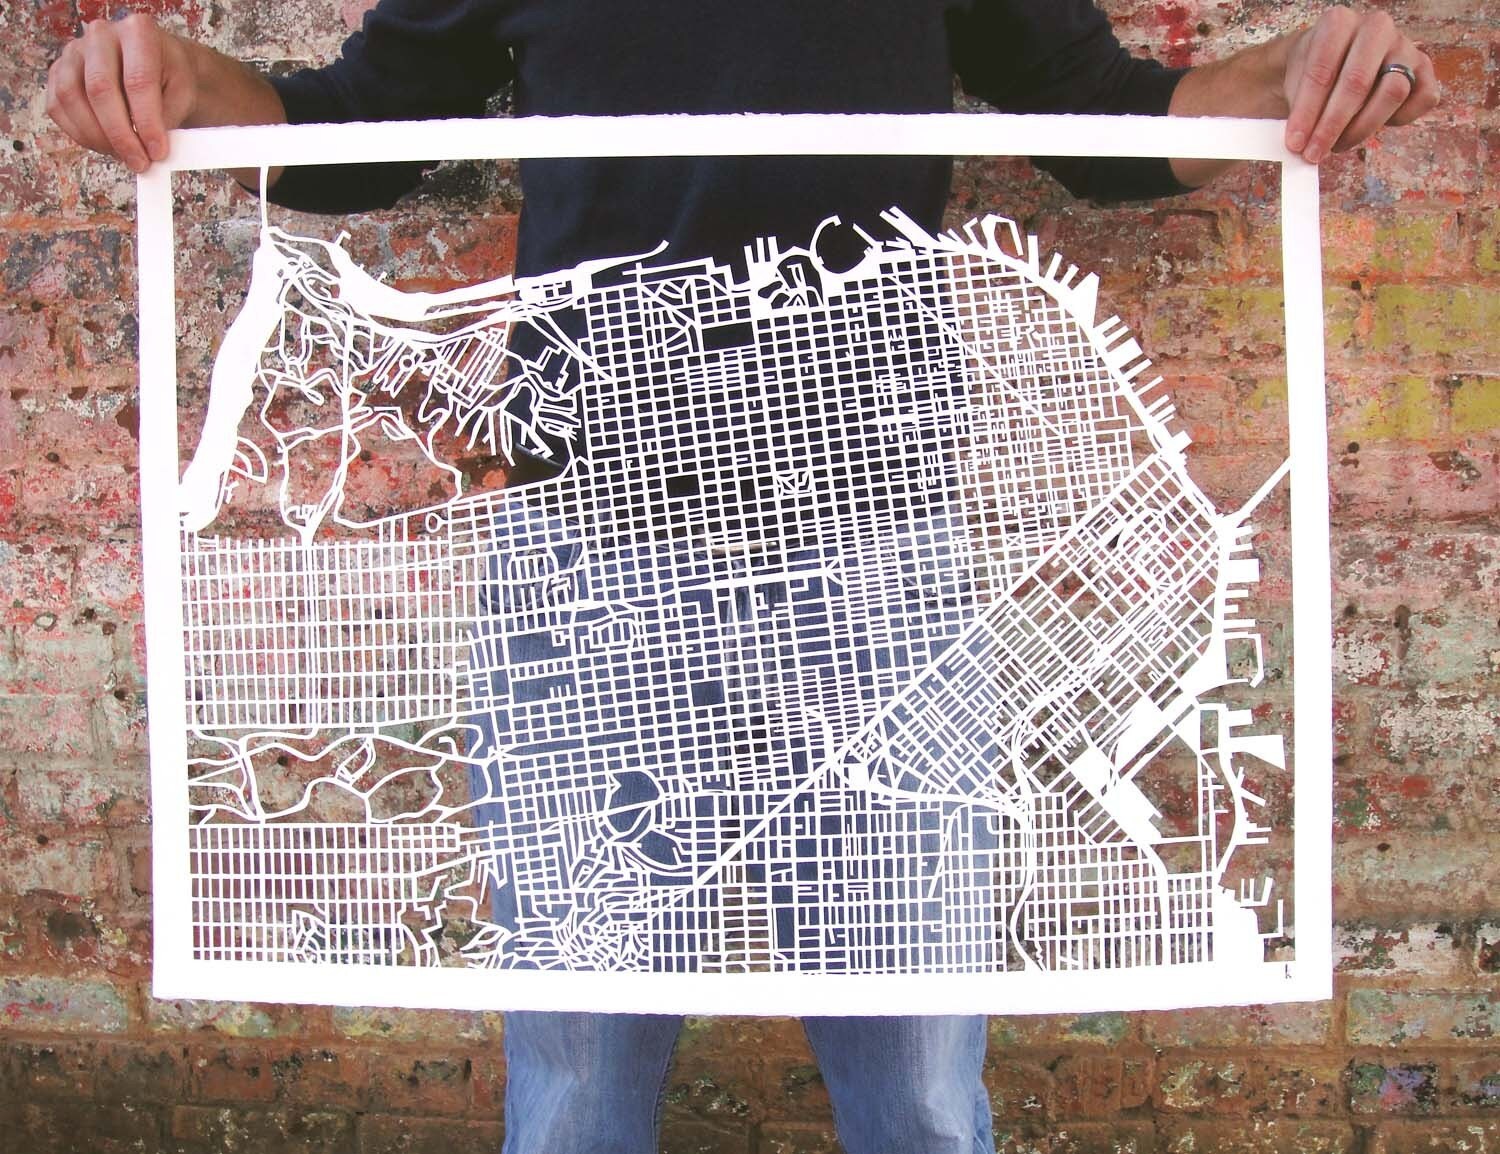
Can you believe this is a hand drawn and hand cut map of San Francisco - gorgeous!


{all images via Studio KMO}

 I love artwork that features cities or destinations or somehow captures travel memories. These are so unique and I think they'd look great on our walls. Maybe a collection of cities we've visited together?

How do you commemorate your vacations friends?  Photos, keepsakes, subway tokens?

22 November 2010

If the boot fits...

Eeeeeeeek! 

I have the bestest news.  The Steve Madden boots I've been coveting for over a year and a half just miraculously appeared in my Shoe Warehouse...ON SALE!!!!  I cannot tell you how excited I am, I'm slightly hyperventilating right now. 

Yes, we all know by know that I have a serious shopping addiction. At least that's what my mom always called it.  I happen to call it something else - smart shopping.  Yes, I shop frequently but that's just because it's hard for me to find the perfect thing in the perfect size.  You see friends...I have size 11 feet.  And I'm just under six feet tall.  And I'm, well, I'm voluptous. (I'm cringing inside as I type this online confession or realization or whatever you want to call it).  Anyhow, it's hard for me to find sizes because regular sizes are a bit small and plus sizes are a bit big.  Who said life was fair right? 

Almost two years ago  I tried on these magnificent boots in a 10 and they just about fit.  Which means an 11 would be perfect.  If I could find them.  I couldn't even find them to order online and get shipped to Canada.  Hence, this discovery being so amazing!  Without further adieu, here they are...


Tall, tiny wedge heel, black leather, perfect.  I've been admiring similar styles (in brown) on some of my fave style bloggers, dreaming about finding MY perfect boots.

{image via Kendi Everyday}

 {image via The Eclectic Owl}

Buy a new car...meh.  Buy new boots...woohoooooooooooo! Isn't it crazy how something so mundane can make you so excited?


That's all. Back to your regularly scheduled programming.

Building a Biz: One week

Isn't it funny how much can change in a week?  A little while ago, I was about to sit down and write a post about what a slow time of year this seems to be for the business, how I'm losing my motivation and how I need to get my painting mojo back. It was a bit of a sad post :(

Only a day or two later, the emails started to roll in...

Over a period of 6 days, I had completed a commission, sold a small dresser with someone on a waitlist for it, had a request to view my collection and sold two chairs, plus provided 2 quotes for new commissions.  I know, I know, it's completely wonderful.  So why can't I seem to ride those highs and lows very well?

It's definitely something I need to continue to work on.  Next time I'm fretting, I'm going to come back and read these posts! Do you have any advice to pass on dear friends on how to stay more level?

On a non-business note - there's been other changes in my life too. Two weeks ago I was having some heater issues with my truck and the mechanic delivered the sad news that I needed at least a few thousand dollars worth in repairs - if not, many more. Um really?  That totally sucked!  My little red truck is now 11 years old so I had to do some hard number crunching and make the really tough decision to buy a car.  Nothing stressed me out like vehicle issues, so I sucked it up and went car shopping and traded in my little red truck for an almost new compact SUV.  Perfect for Winnipeg winters and delivering furniture!  Car payments, well that's just inevitable.  And yes - that all happened in the span of a week as well!

So it's been pretty up and down around here so I thought I would fill you in.  Doesn't a week seem so short when you think about it?

Sorry for no pretty pictures today, I promise more tomorrow...

21 November 2010

Oh hello snow!

Winter is here!  This is what it looks like out my front window...


So instead of venturing out, I'm surrounding myself with all things knitting...


And baking these old favourites...but with chocolate chips instead of pecans!


And painting this piece of furniture...


And hanging out with this guy...


And that's just today!  Yesterday J and I had date night, starting out with watching my neice play ringette...and got to hang out with my sweet nephew Wyatt...


Followed by a knuckle-biting 4 rounds of glow bowling.  Yes, you can see who is the champion!


What have you been getting up to this fine weekend my friends?

19 November 2010

Furniture Cheat Sheet: The Club Chair

Well, the city is a winter wonderland! We got our first big snowfall through the night and I'm so glad it's Friday since all I can think about is curling up at home in a big comfy chair!  Reading, baking, sleeping in....isn't nasty weather the best excuse ever to do all the things you love?

In my twenties, I search high and low for a club chair to do my reading. I had always wanted one and I thought they were the perfect antidote to my often-overly girly style. I found one many years back at Homesense on a deep discount and I've loved it ever since.  There's something about chocolate brown leather that just ages so nicely. I hope to have it for years to come!

As far as modern versions go, I've been seeing this amazingly gorgeous creature from Crate & Barrel all over the place.  From blogland to magazine ads, this has sure caught my eye!  And why wouldn't...isn't is just the coziest looking thing you've ever seen?  A mug of hot chocolate, a wool throw, my favourite novel....yes, yes I can see it now.  Well, maybe not with the $2500 price tag.  But I sure love fantasizing about it!


 {image via} 

If leather's not your thing, there are amazing overstuffed fabric versions out there. I quite love this more feminine and curvy version of the club chair with it's lovely sage green uphostery. The wood base is a nice touch too!

 {image via}

What are you thoughts on the club chair friends?  Too bulky or just right?

Hope you're staying warm and cozy this weekend!