Sometimes when you start on a furniture painting project, it's overwhelming to know where to even start. But having the right tools is what makes everything easier! So here's a peek inside my Lather Creations toolbox.

These are the tools I use most frequently and between raiding your hubby/dad/boyfriend's toolbox, you probably have most of these already. Add a few painting specific tools and you're ready to go! Let's take a closer look at each item and what I love using it for.

For my paint-specific supplies, I like to always have:
4-inch foam rollers with plenty of refills - I pick these up in 3 packs at the Dollar Store, so I can throw them away after each project. They're perfect for smooth paint coverage on large, flat surfaces.
Stir sticks - I get these for free every time I buy paint (even mistints), they ensure all the paint colour is well mixed together in cans I haven't used for a while. I also use them to mix my custom colours.
Multiple 4-inch paint trays - Again, these are super cheap from the Dollar Store. I usually wash them out, but I make sure to have separate trays for primer since it's so much harder to clean out. I chuck them after they start to get paint build-up.
Various sized paintbrushes - I splurge on my large, most used brushes and I save on my smaller art-style brushes. Your surface will thank you!
Blue painter's tape - Green is cheaper but blue is better. Makes lovely patterns like stripes and chevron.
Various grits of sanding sponges - The higher the grit, the smoother the finish. So I use lower grit (80-150ish) for scuffing and higher grit (200+) for smooth finishing and light distressing. Plus, you can totally wash the sanding sponges - once they're dry, they're like new!
A paint can opener -This nifty little tools has saved me plenty of bent butter knives. It's less than a buck and you'll be glad you got it.

When I have a piece of furniture that needs a little bit of repair work or tweaking, I most often dip into these tools:
A multi-head screwdriver - J got me this for Christmas and it has ever screwdriver head built into it - handy for me and he LOVED getting me a 'masculine' gift.
A scraper - I use this to scrape off paint drip marks and stubborn layers of finish. It's awesome.
A small hammer - Mostly I use this to close paint cans (although J also bought me a rubber mallet to do this). It's also good for nails (see below).
Finishing nails - When I come across a loose, unsturdy piece of vintage furniture - I start by tightening all the screws. But when that doesn't work, I'll often tap in some finishing nails in strategic places for extra sturdiness.
Needle Nose Plyers - These are great for taking out small nails, releasing tight hardware joints and other hard-to-reach jobs.
Plastic putty knife/spreader - When I have to fill any holes or scrape marks with wood filler, I use this spreader for even application.

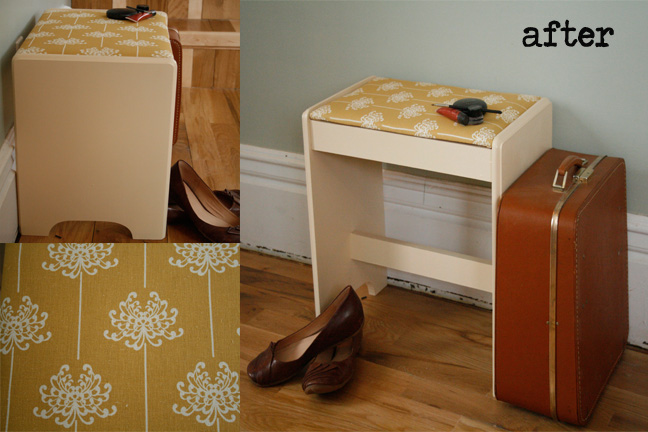
When I'm recovering a fabric bench or chair, these are my go-to items:
Stapler - More than your regular office stapler, this more heavy-duty industrial stapler has special staples that are strong enough to go into wood.
Scissors - Well, obviously I use these to cut fabric!
Measuring tape - Again, I use this to measure fabric, plus my furniture pieces for when they're advertised and I often carry it along on thrifting trips to make sure big pieces will fit my space.
Hope you enjoyed this little peek inside my toolbox! I left out things like paint, primer, finish and wood filler. That's a whole other conversation...
Have a lovely day friends!